
By Thalia Avila
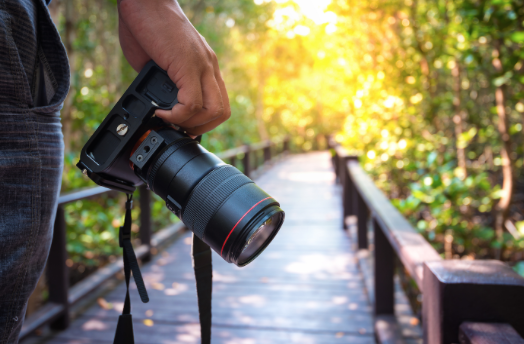
Great news! You just finished an interview, but now you need to add a photo to complete the story. Snapping a great photograph of a subject can seem intimidating at first, but fear no more. I hope that after reading this blog, your confidence will boost and intimidation will no longer be a factor.
Before you begin the photo session, start out with an email. Remember, email etiquette is important and needs to have a professional tone, clear wording with direct questions. The next step will be to set a date for the interview. After finishing up the interview, make sure to spend five minutes at the end to set a time and location for the photo session.
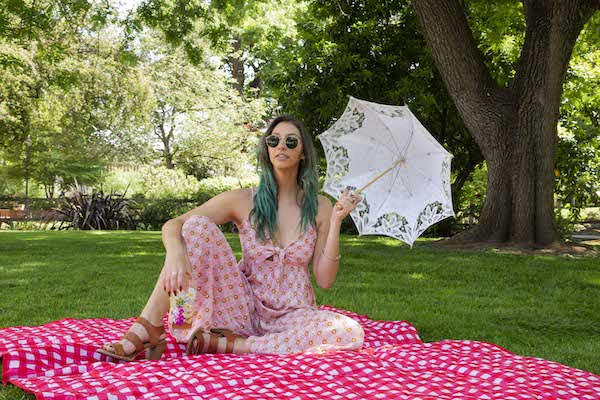
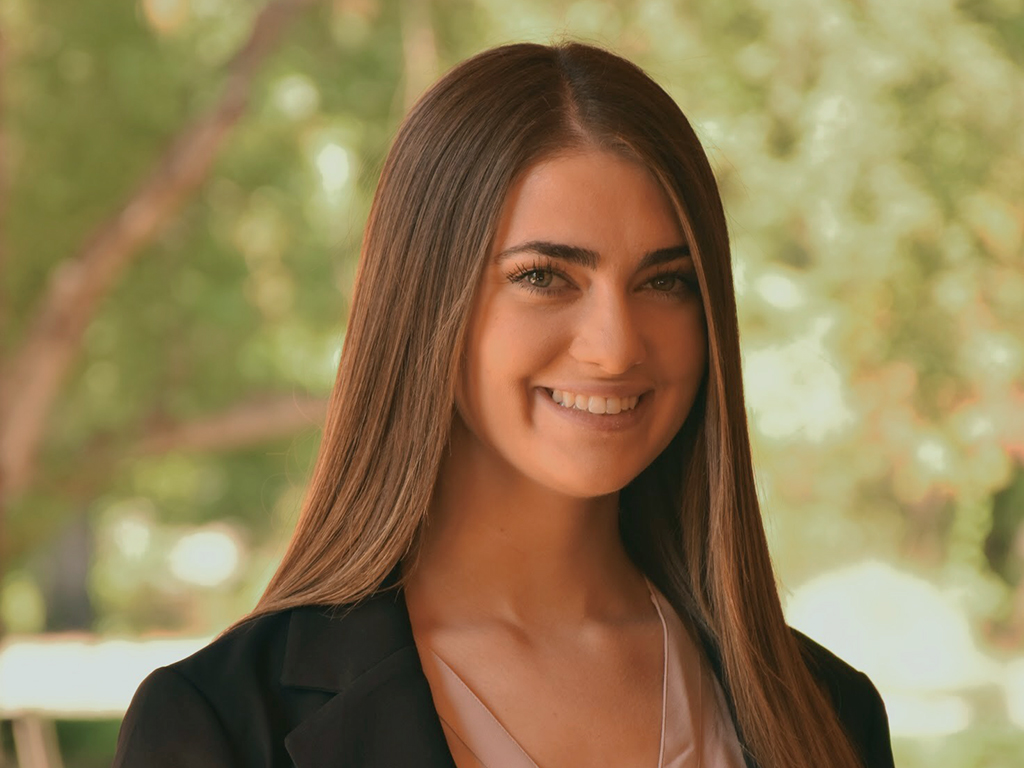
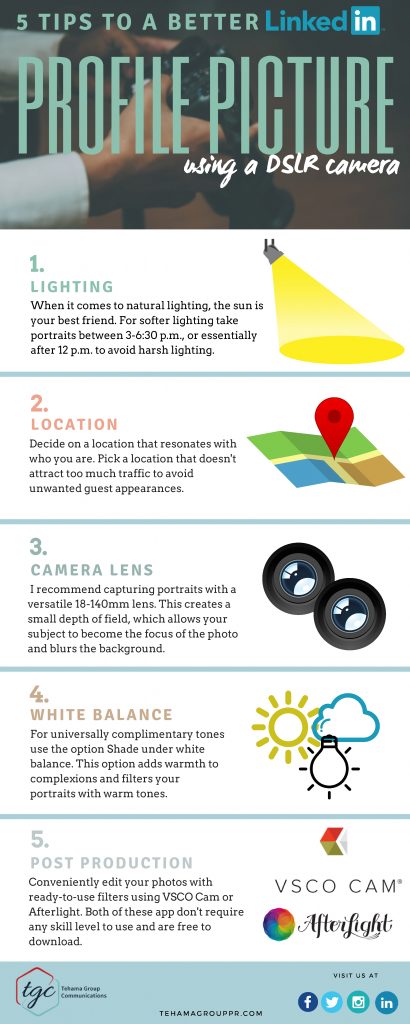
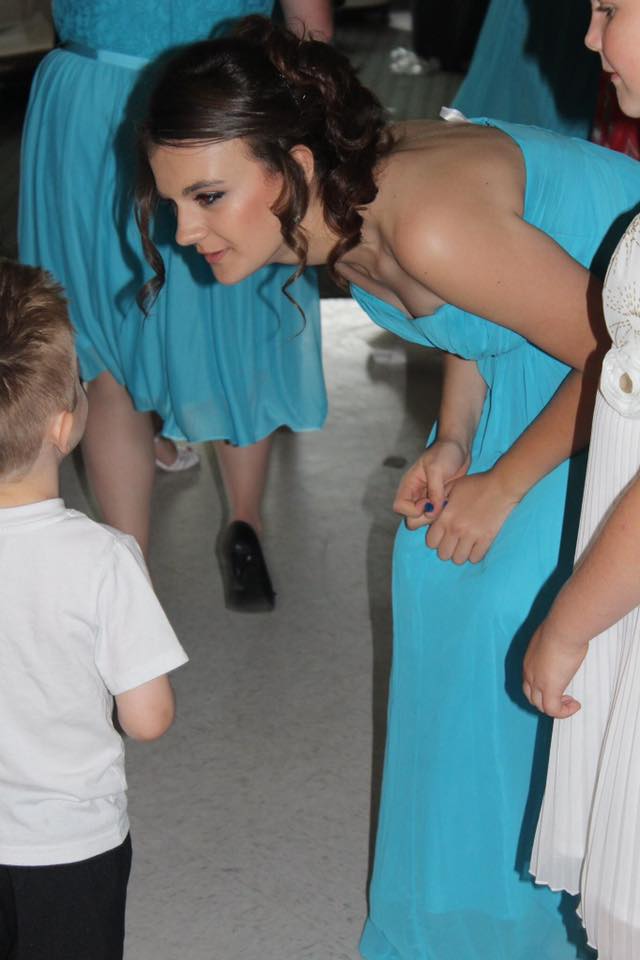
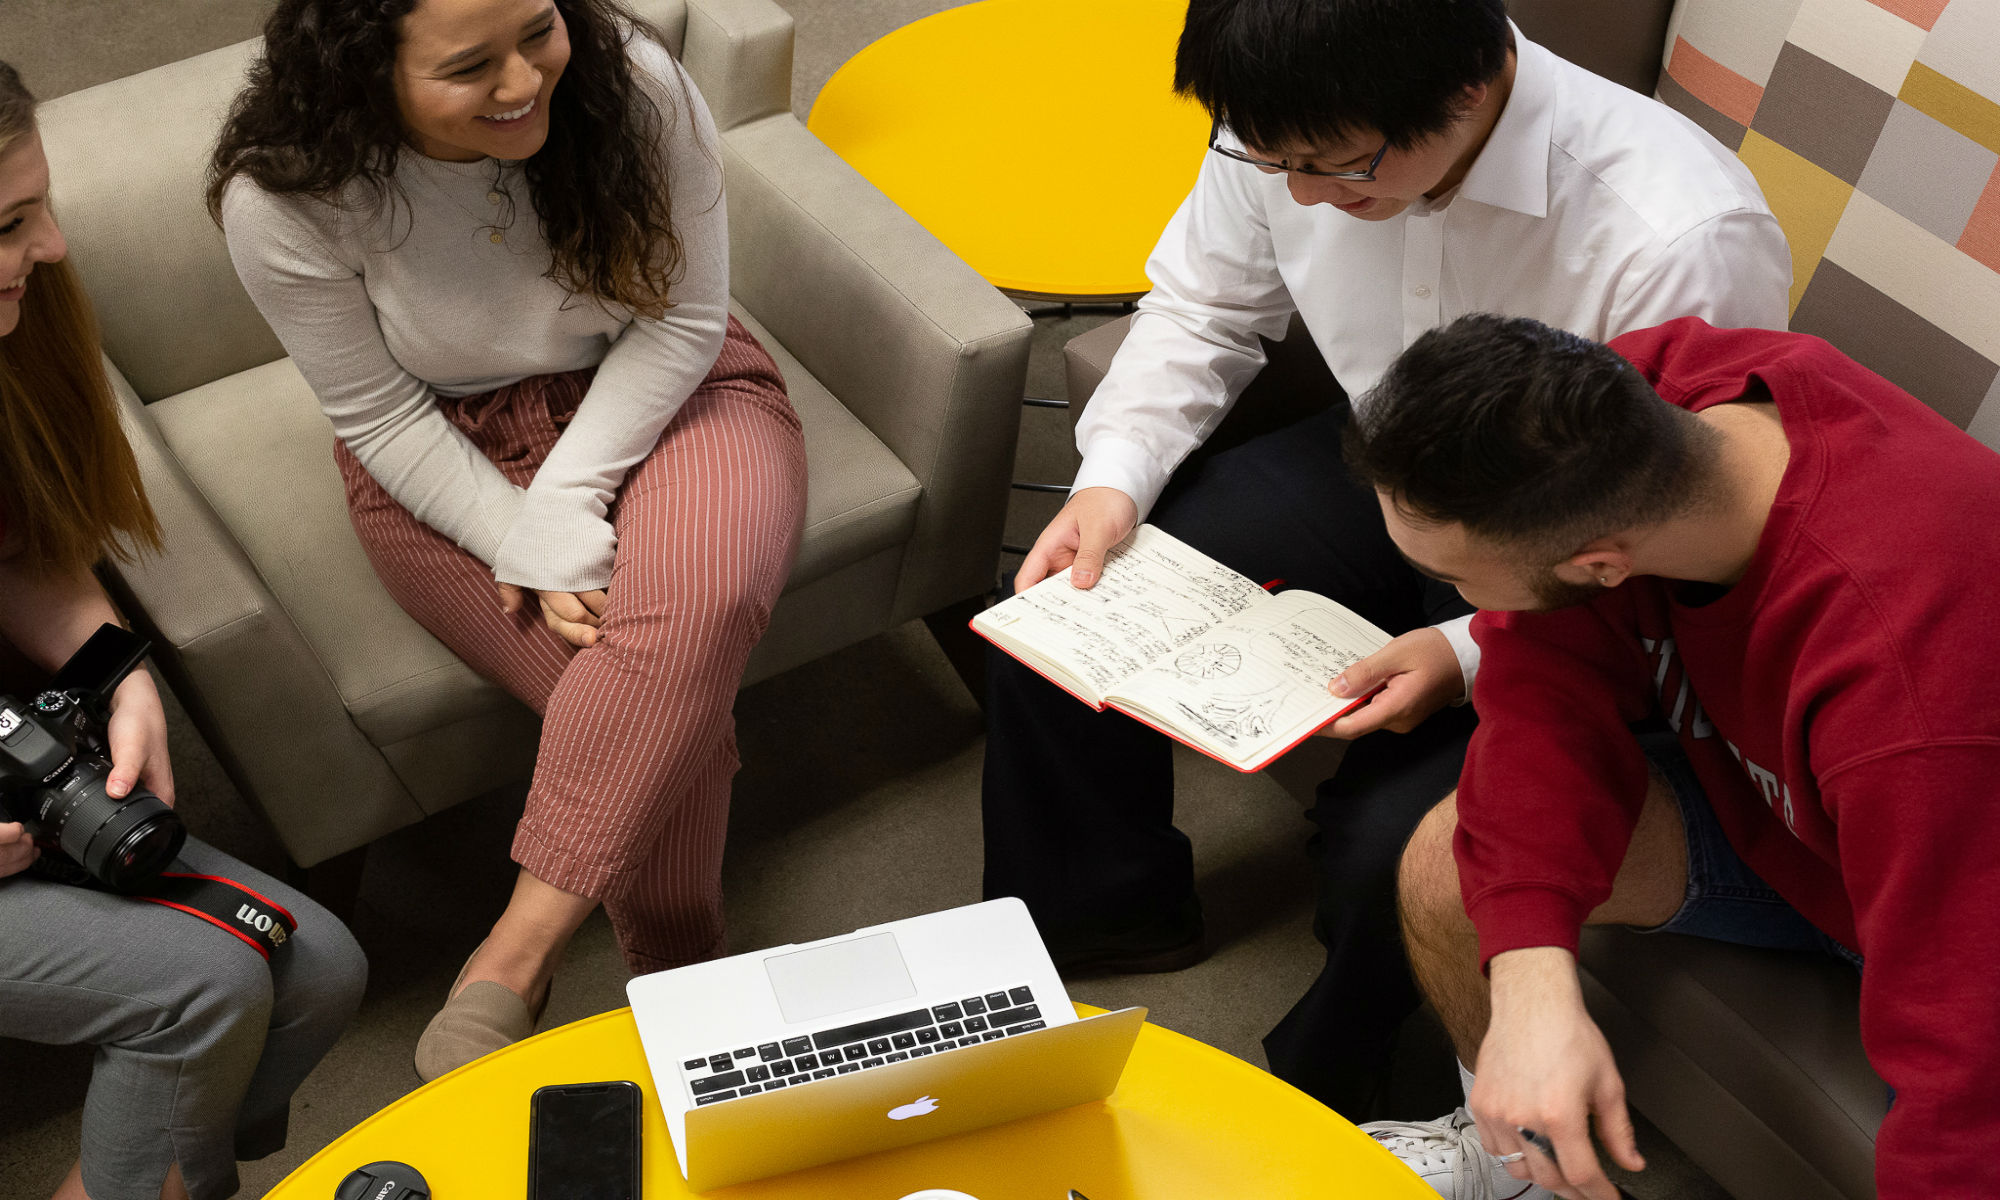
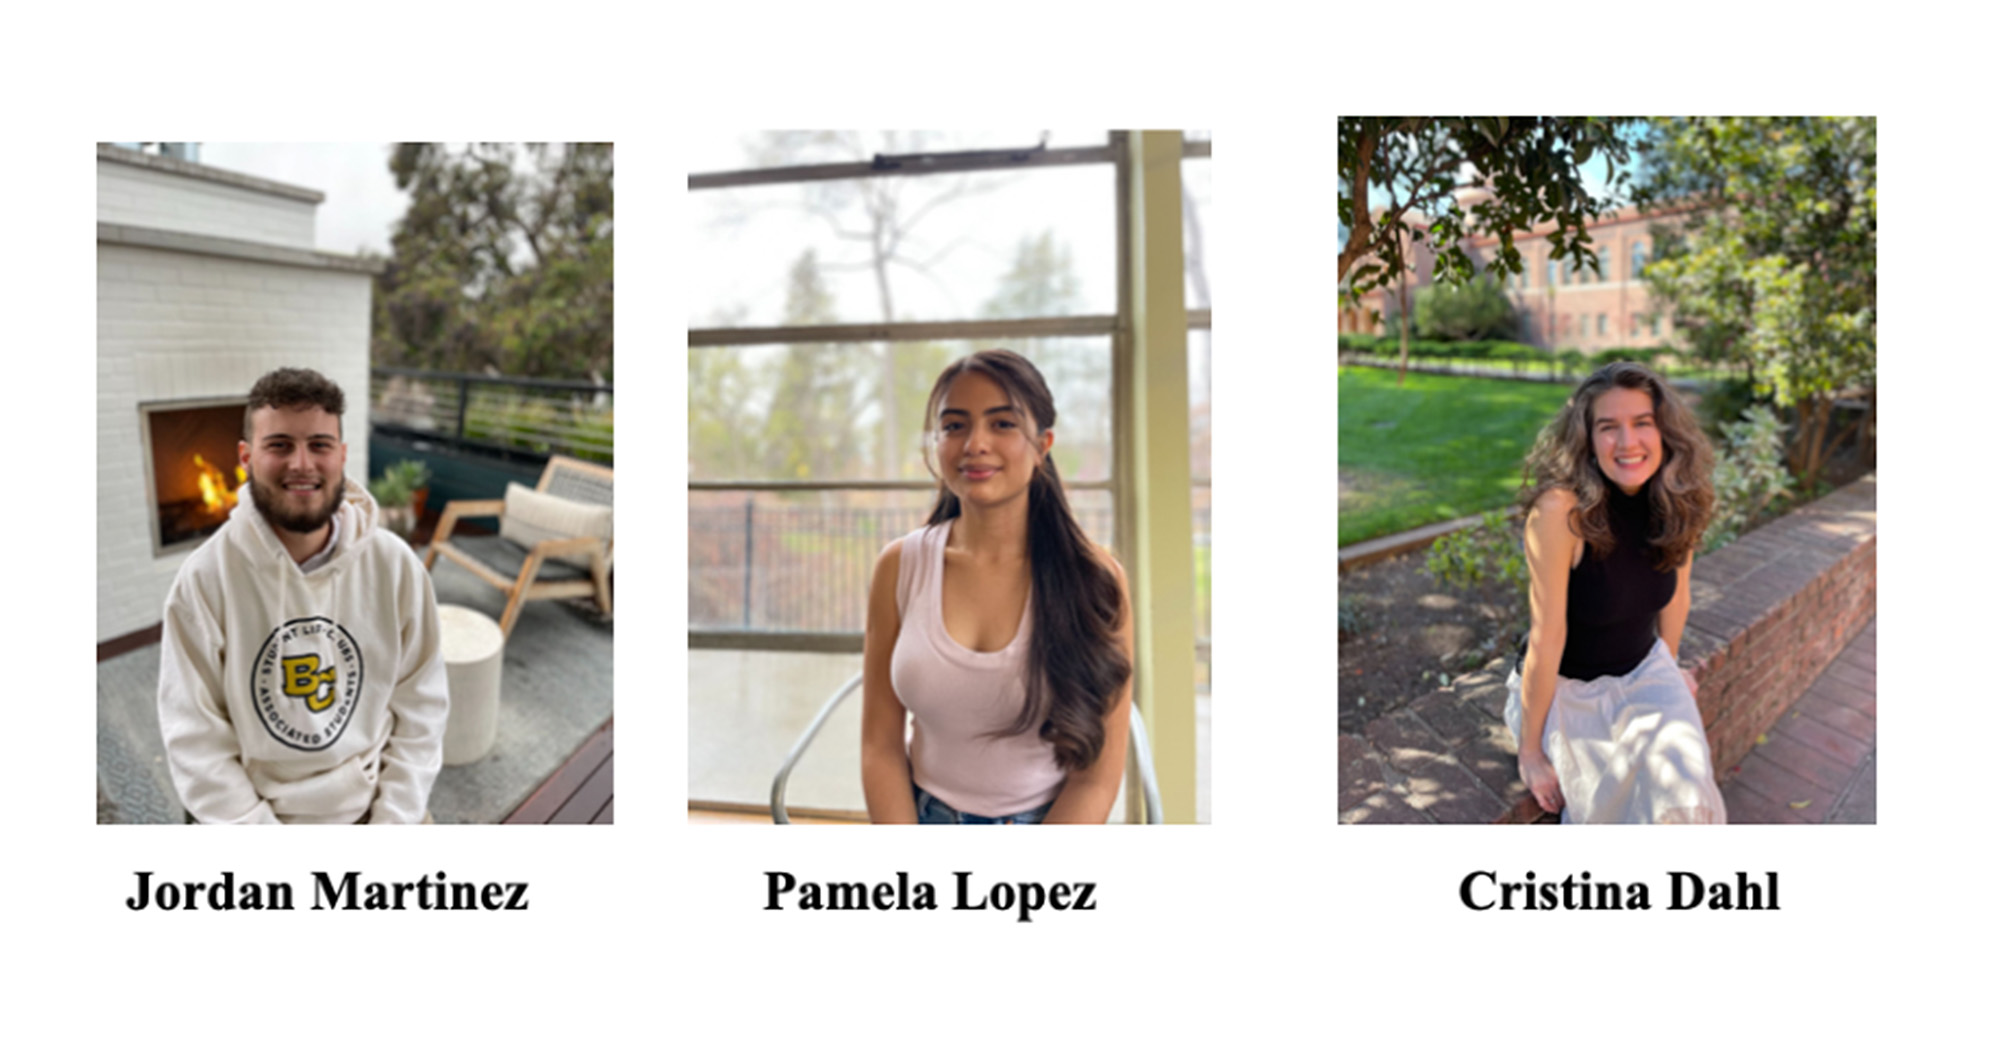
If the subject is being photographed outside, the element of time is your best friend! Make sure to schedule the session in the early morning or evening to get the best lighting possible. As the subject is being photographed, make sure to keep the conversation comfortable and flowing. Ask your subject about their hobbies and interests. If their kids are brought up in the conversation and they smile, keep them talking! Observe how your subject reacts when asked how they feel about coming home to their dog or cat later. Always be mindful of the subject of the story. Integrate humor if it is appropriate, and always create a welcoming environment for your subject.
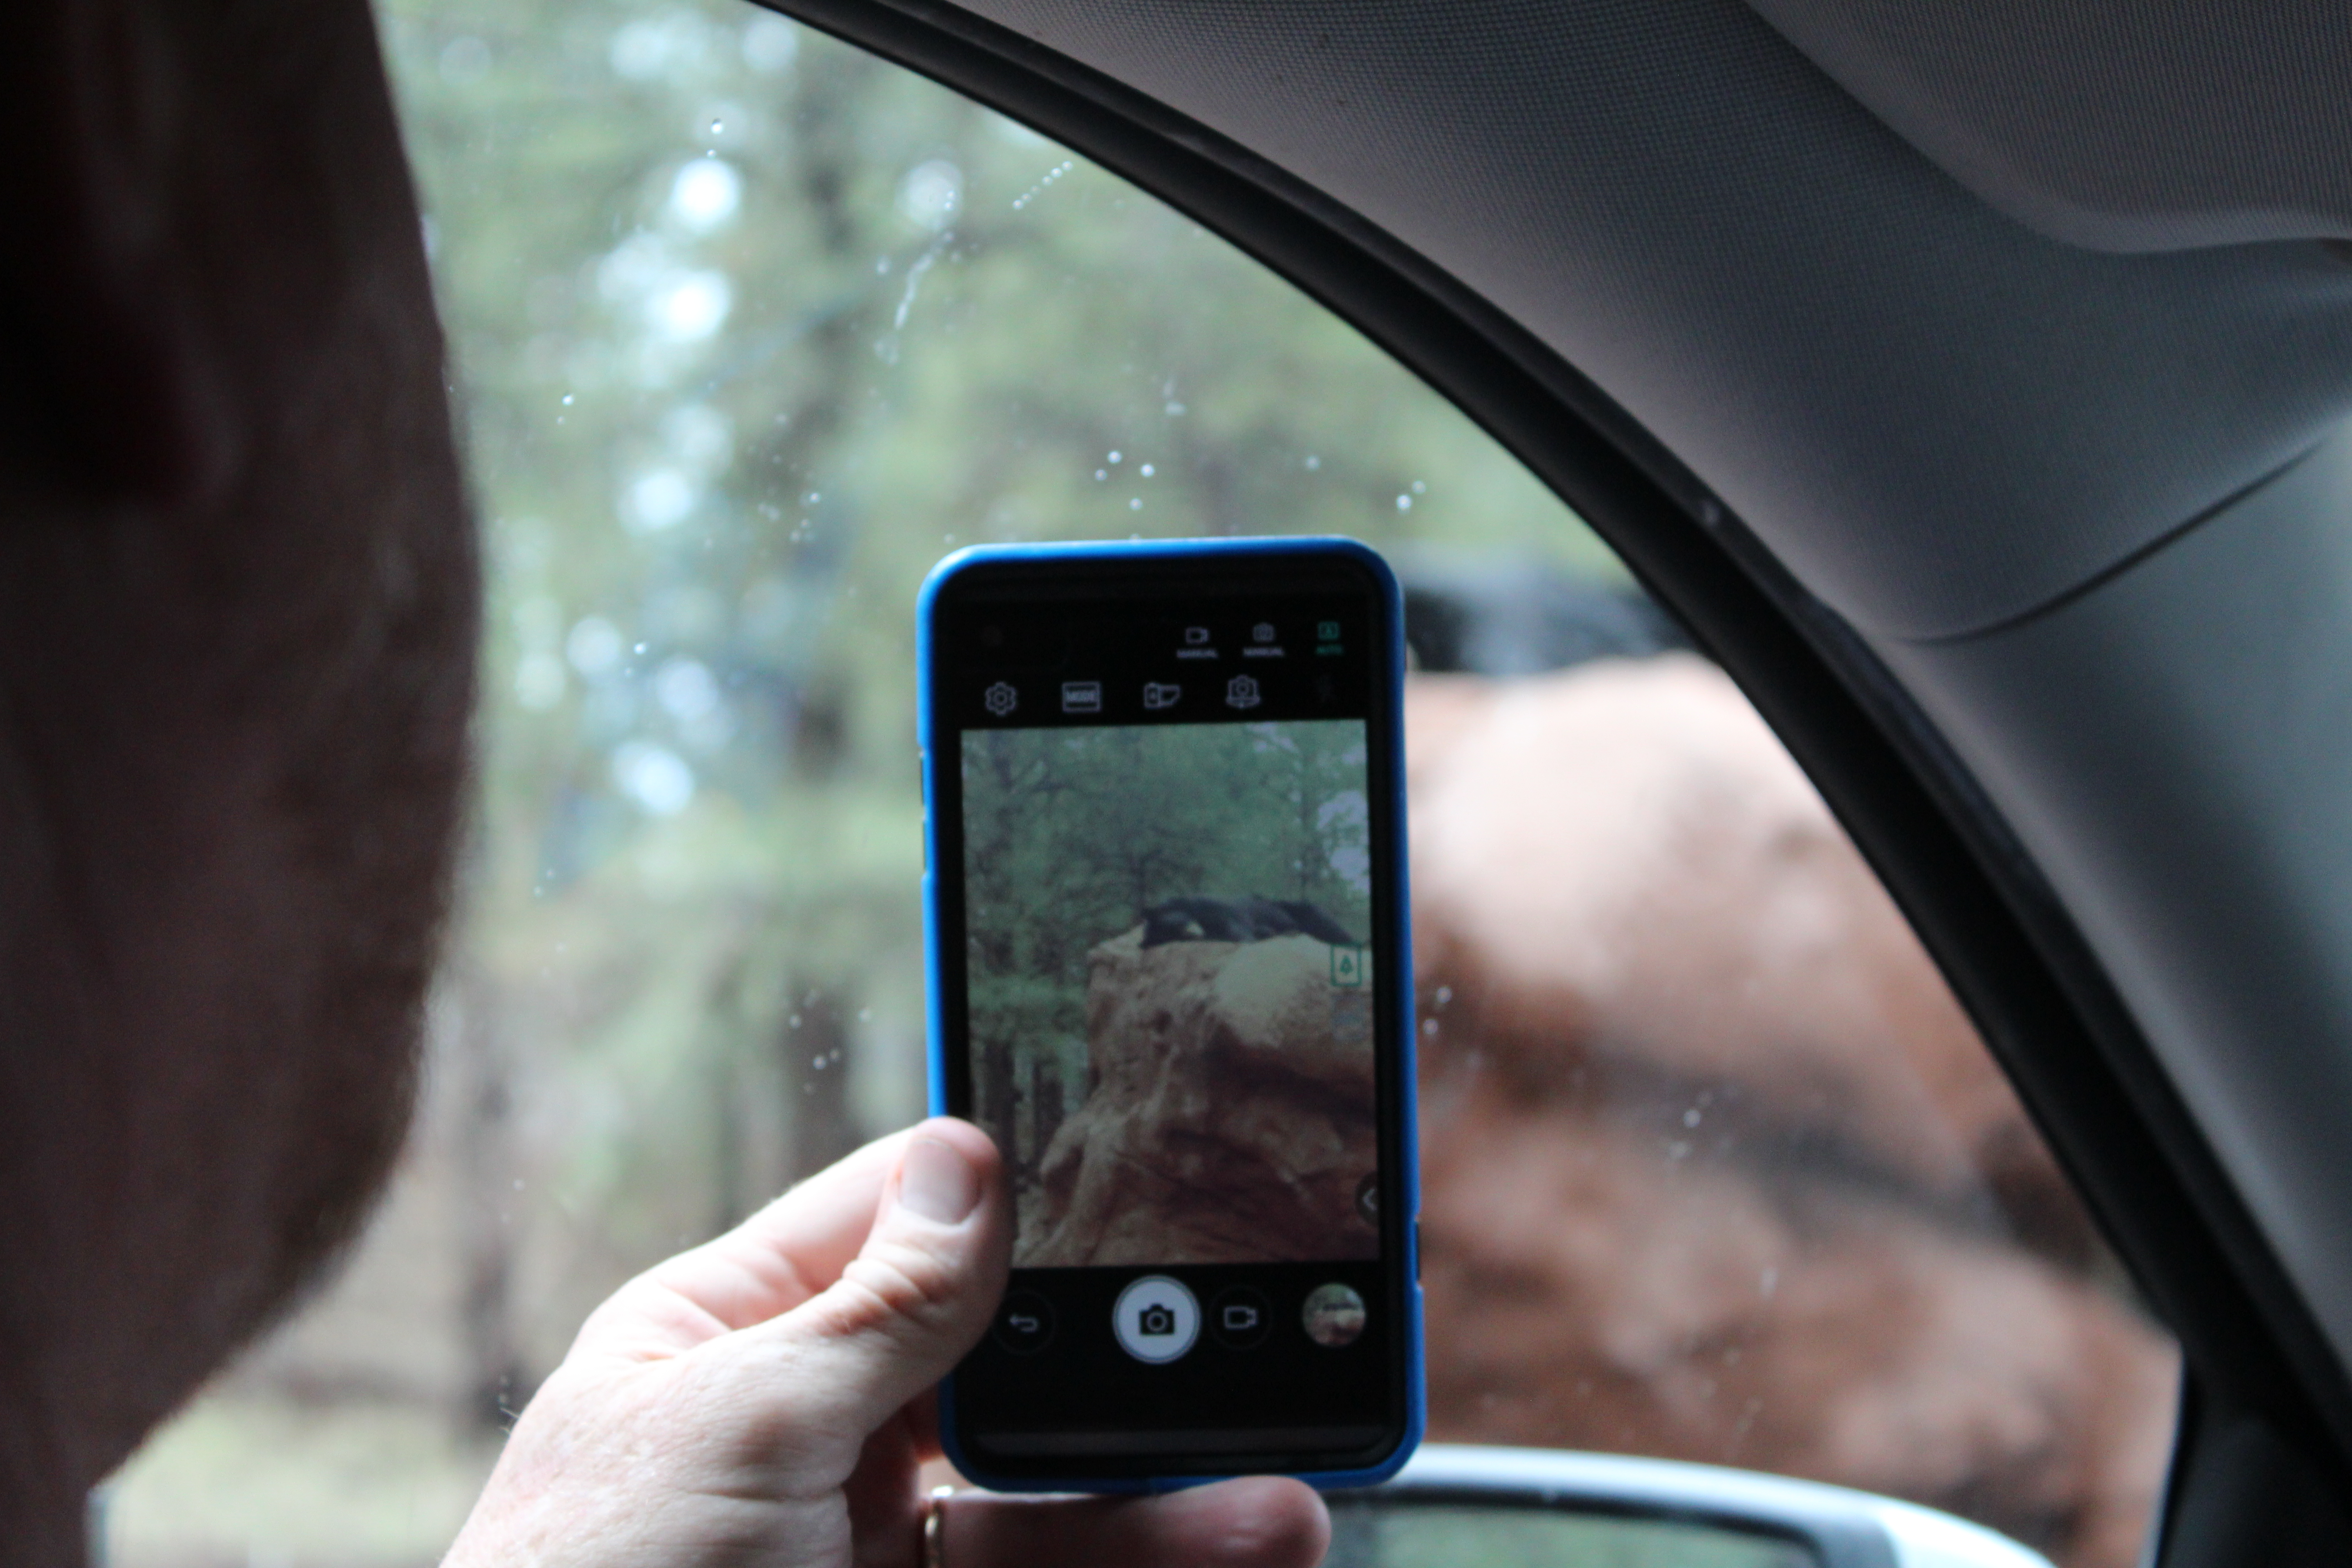
Be mindful of your subject’s time and schedule. Photo sessions should only last about 30 minutes. Within the 30 minute window, you will want to capture as many different angles and positions possible. Do not hesitate to ask your subject to move to another bench or place in order to get the best landscape in the background or lighting. To wrap things up, make sure to thank them for their time.
Always follow up immediately after your session. Start to sort through the photos right away to immediately eliminate the bad ones. Narrow it down to 10 photos and then five. Once you have five great photos, make sure to send them to your subject. Sometimes the subject will pick two or three photos they are stuck with and will let you decide from those. Lightly edit the photo of their choosing if they have any concerns, and then share the final product to confirm.
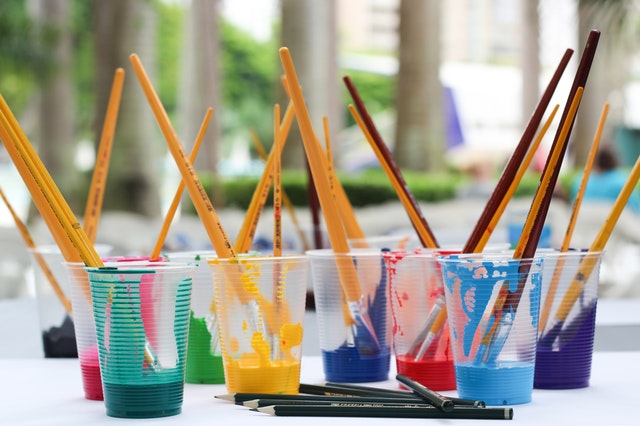
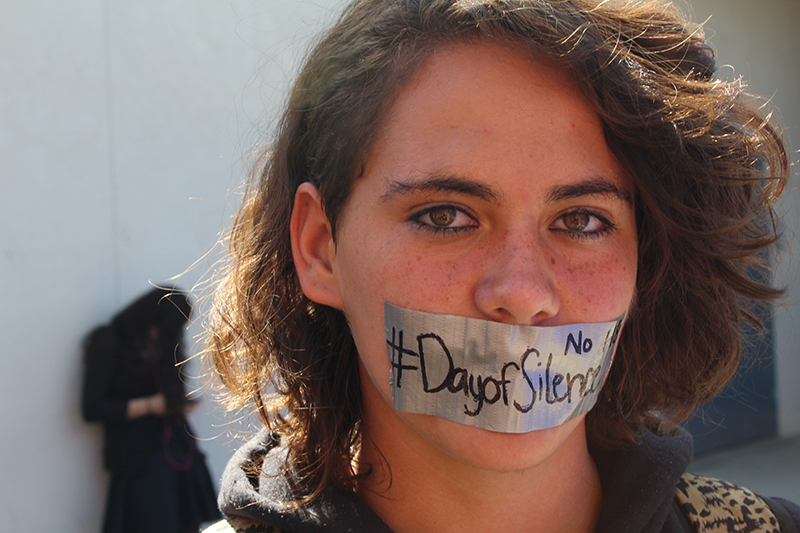
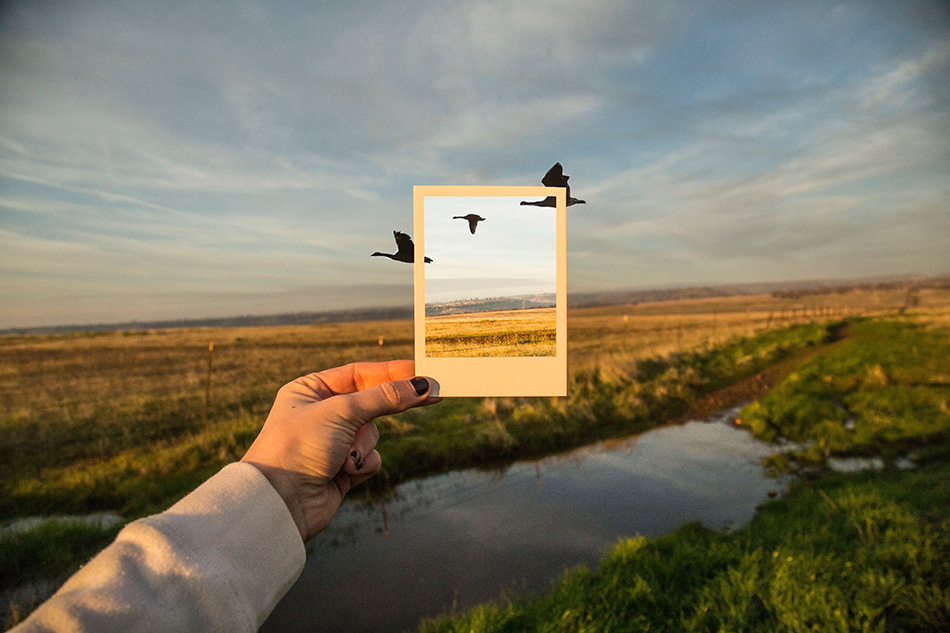
Lastly, remember photographs are an important part of the story. Getting a great photo of the subject can help the story speak louder. What is an interview without a great photograph?
Overview of key tactics:
- Email etiquette with professional tone, clear wording, and direct questions
- Set a date for the interview
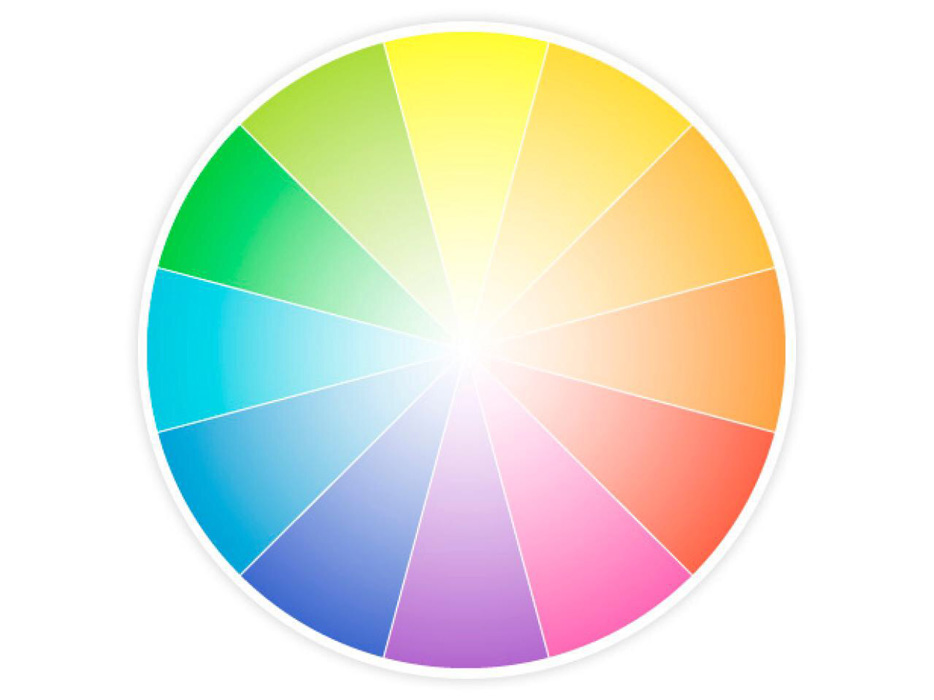
- Lighting is everything
- Create a comfortable and fun environment
- Be mindful of their time and schedule
- Keep it to 30 minutes
- Play around with different angles and positions
- Pick 5-10 photos
- Follow up after the session
- Narrow it down to five photos
- Share final product for confirmation